This week's Colour Creations blog hop is focussing on
Pacific Point, a bright mid-blue in Stampin' Up!'s range. It is probably my least-used blue, so this was a good challenge for me!
I have teamed Pacific Point with Balmy Blue, Soft Suede and white, to create a starry birthday card that shows off one of the awesome sentiments from the new Slim Sayings stamp set.
I stamped the sentiment repeatedly on Basic White card, using Pacific Point, Balmy Blue and Soft Suede inks. After creating a panel with the repeated sentiments, I decided to cut it into strips, for a different look. I stamped splatters (using a stamp from the Color & Contour stamp set) in Pacific Point, over the words. So the colour wasn't too intense, I stamped the splatters onto scrap paper, then the card strips, after each inking of the stamp. Using Soft Suede ink and a sponge dauber, I sponged around the edges of each white strip.
The stars were cut using Stitched Stars Dies, and a mix of Pacific Point Designer Series Paper, Pacific Point card, and Soft Suede Designer Series Paper. I used the same coloured inks to sponge around the edges of each star before adhering them.
I have used a Balmy Blue piece of card to anchor the main design elements of my card. I first stamped, in full strength Pacific Point ink, the splatter all over the piece of card, and sponged the edges with Pacific Point ink. I then embossed this piece with the Bricks & Mortar 3D embossing folder.
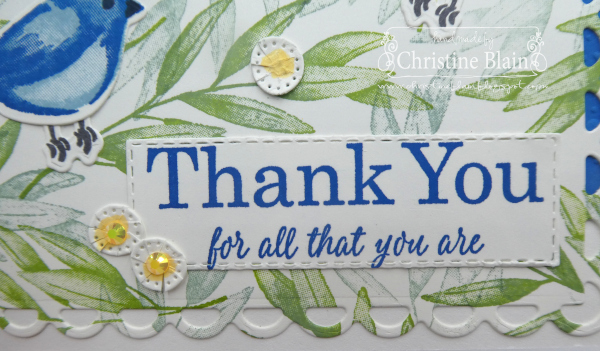
The stand-alone sentiment at the bottom was stamped in Pacific Point ink on Basic White card, and mounted on a thin mat of Pacific Point card. I added a zig-zag border that was lying on my craft table, left over from a previous die-cutting session.
Some Crumb Cake baker's twine, and Brushed Metallic Dots, finish off the card front.
Inside the card, I added a flourishy star die-cut, using Pacific Point card. Before cutting this piece, I placed Adhesive Sheet on the reverse side of the Pacific Point card, to make it clean and easy to adhere.
Next up on tonight's blog hop is Caroline Manwaring. If you click on the button below, you'll be taken to her blog, to see her Pacific Point creation.
If you come across any broken links on tonight's hop, or if you would like to see a comprehensive list of all participants, head over to Catherine Proctor's blog. Cathy does a great job of co-ordinating our blog hops every week.
Listed below are all the products I used to make my card. If you live in Australia, and would like to shop with me for your Stampin' Up! supplies, you can get to my online store by clicking on any of the thumbnail images below.
I hope you'll come back to visit my blog tomorrow, as I was inspired to create some more with Pacific Point!


")

")


 Designer Series Paper")
 Designer Series Paper")


