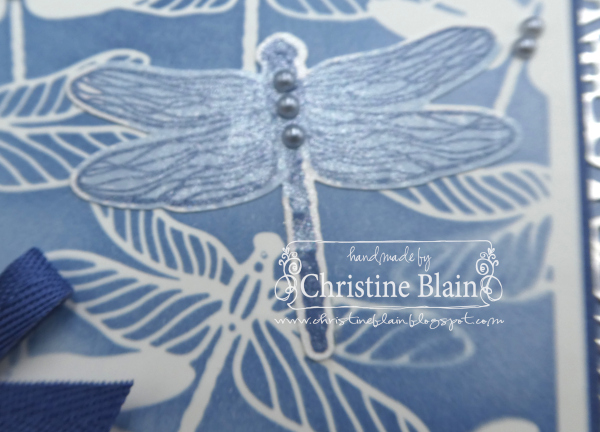
When I was creating yesterday's card, I placed a piece of Basic White card underneath the laser cut panel whilst colouring it with Blending Brushes. This created a stencilled piece that I was able to use as the main panel on today's card. So, the inky background is Seaside Spray and Misty Moonlight.
The card base is Basic White Thick cardstock. To this I adhered some Seaside Spray Designer Series Paper - it's a little hard to tell, but there are two different patterns. The piece closest to the top of the card has a woodgrain pattern, and the bottom piece is speckled.
I stamped a single dragonfly on a scrap of Basic White card, using Misty Moonlight ink, and filling in the wings with Seaside Spray ink and the single wing stamp. After inking the dragonfly, I spritzed it with a solution of Frost White Shimmer Paint and isopropyl alcohol.
In this photo, you can see a little better the shimmer on the stamped and punched-out dragonfly.


No comments:
Post a Comment