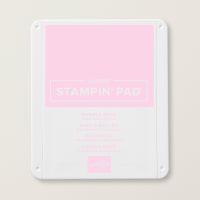
For this week's Colour Creations blog hop, we are all creating with Bubble Bath, a beautiful pink with slight purplish tones, that belongs in Stampin' Up!'s Subtles colour family.
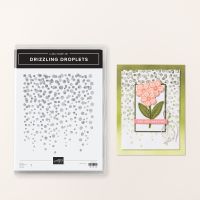
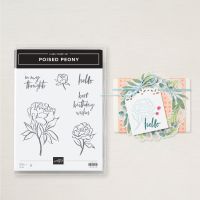
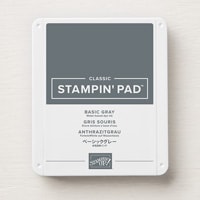
I am showcasing two new-to-me stamp sets: Drizzling Droplets and Poised Peony. The background panel of Bubble Bath card was stamped with Drizzling Droplets, in Bubble Bath ink. I sponged the edges with Bubble Bath ink before matting it on a slightly larger piece of Basic Gray card.
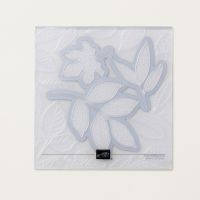
Three of the decorative circles were cut using Spotlight on Nature Dies, and the sentiment was cropped with a stitched circle die from the Changing Leaves Dies set.
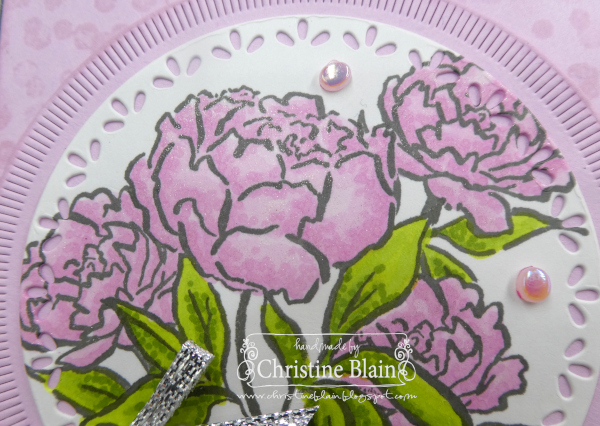
Using Basic Gray ink, I stamped the largest peony and leaves image on Basic White card. I then stamped it again on Masking Paper, fussy cut the image, and stuck it over my stamped piece after removing the backing paper. I chose the second-largest peony image from the stamp set, and stamped the flower and leaves directly over the top of the masked piece, positioning it lower right. After stamping this smaller flower on Masking Paper, I cut it out and masked the flower just stamped. This meant I had the larger and smaller flower masked. Inked in Basic Gray ink, I stamped the smaller peony again to the upper right of the main flower, and a third one to the left. Once the masking paper was removed, the flowers were all revealed, making it appear that the smaller ones are behind the central flower.
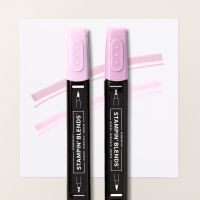
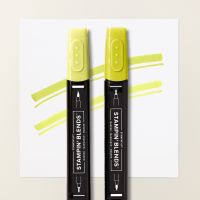
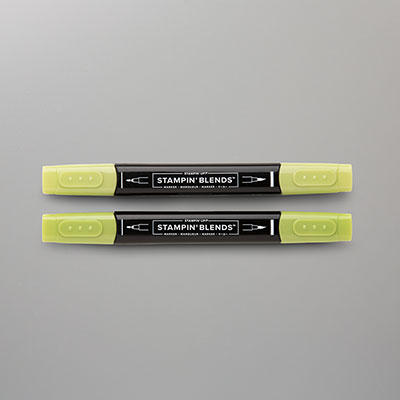
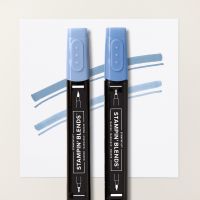
I coloured the peonies with Bubble Bath Stampin' Blends markers. After blending the light and dark tones of the same colour, I added dots with the bullet tip of the Dark Bubble Bath Stampin' Blends marker. The leaves were coloured with Lemon Lime Twist and Granny Apple Green Stampin' Blends, with dots added in Dark Granny Apple Green.
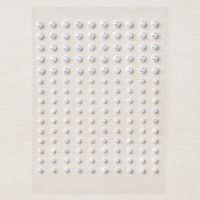
Some glimmer was added to the flowers, with Wink of Stella. The Flat Adhesive-Backed Pearls I've used were coloured with the Dark Bubble Bath Stampin' Blends marker.
On a piece of Basic Gray card, I stamped the sentiment in Versamark ink. After sprinkling white embossing powder over the words, I melted the powder with my heat tool. The sentiment was cropped with a Changing Leaves Die, and I sponged around the circle with white craft ink.
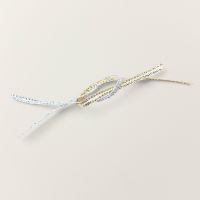
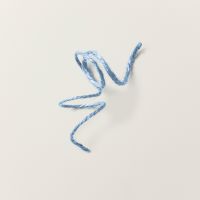
The bow was created with Silver 1/8" Trim, and attached with glue dots.
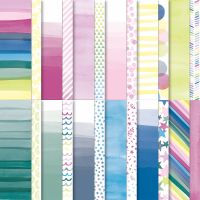
Using a smaller Spotlight on Nature Die, I cut a circle from a scrap of Bright & Beautiful DSP. It's an ombre Bubble Bath piece (very subtle). I stamped the small peony in Basic Gray ink, and coloured it as above, addding Wink of Stella when coloured. The edges of the circle are sponged in Bubble Bath ink.
Next up on tonight's blog hop is
Sharon Davern:
If the link doesn't work, or if you would like to see a list of all the participants in this week's blog hop, head over to
Catherine Proctor's blog. Cathy does a fantastic job of co-ordinating our blog hops, every week.
Listed below are all the products I used to make my card. If you live in Australia, and would like to shop with me for your Stampin' Up! supplies, you can get to my online store by clicking on any of the thumbnail images below.
Today is the last chance to earn Bonus Days coupons, by shopping for Stampin' Up! products. For every $90 you spend on product, you will earn a $9 coupon to spend in August.


