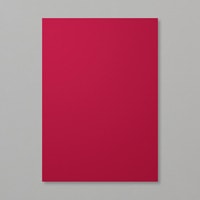
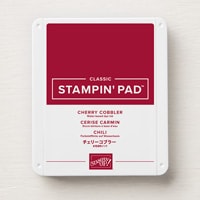
For this week's Colour Creations blog hop, we have all created projects showcasing Cherry Cobbler, Stampin' Up!'s deep red. There are some beautiful new Cherry Cobbler papers coming out on 4th September, so I have created a couple of Christmas cards to give you a sneak peek.
CARD #1:
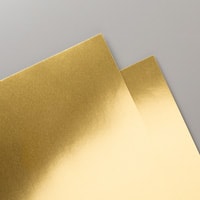
This card features the glorious Season of Elegance Specialty DSP as a background. These papers didn't jump out at me when I saw them in the new Mini Catalogue, but in real life they are very special. I matted a panel of the Cherry Cobbler DSP on a slightly larger piece of Gold Foil Sheet. The card base is Very Vanilla.
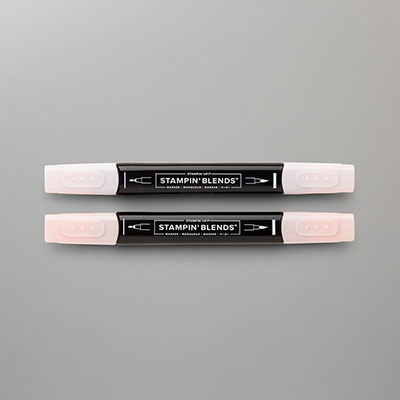
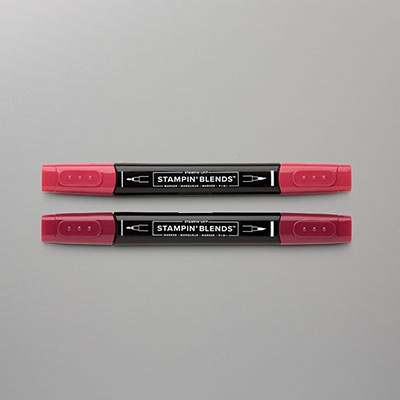
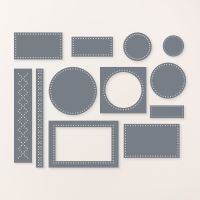
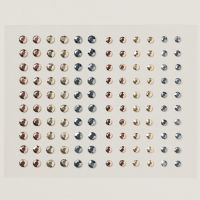
Here's a close-up of the sentiment, created using the Peaceful Season bundle (already my firm favourite for sentiments this Christmas). I stamped "Merry" in Cherry Cobbler ink on Very Vanilla card, and cut it out using one of the label dies in the bundle. The Faux Glass Dots (also coming out 4th September), either side of the stamped sentiment, were coloured with my Dark Cherry Cobbler Stampin' Blends marker.
I attached Adhesive Sheet to the back of a strip of Gold Foil Sheet, before die-cutting the word "Christmas". Once cut, it was easy to remove the backing paper and use the die-cut as a sticker. No mess!
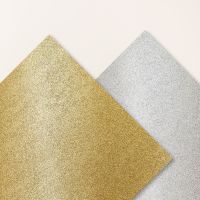
The beautiful gold Christmas tree was created with the new Decorative Trees Dies. I cut the base tree from Gold Foil Sheet, and the intricate swirly overlay from Gold Adhesive-Backed Glimmer Paper. The tree was added to a Very Vanilla circle, cut using an Everyday Details Die. The slightly larger Cherry Cobbler circle was cut using a Spotlight on Nature Die.
I used new Cherry Cobbler & Gold Satin Ribbon to create the bow. The gems in the background are more of the Faux Glass Dots (coloured using my Dark Cherry Cobbler Stampin' Blends marker), and some Adhesive-Backed Metallic Gems in gold.
CARD #2:
The background on this card is Regal Distressed Patterns Specialty DSP. I sponged the edges in Cherry Cobbler ink before matting the panel on a piece of Very Vanilla card. I added a wide strip of Season of Elegance Specialty DSP across the card front before adding the tag.
The stars were cut, using a Decorative Trees Die, from Gold Adhesive-Backed Glimmer Paper and Season of Elegance DSP.
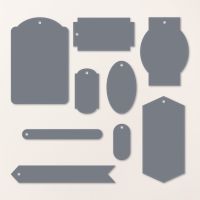
After cutting a tag from Very Vanilla card, using a Greetings of the Season Die (an Online Exclusive set), I repeatedly stamped a sentiment from Decorative Trees in Cherry Cobbler ink. The Christmas tree was cut from Gold Foil Sheet (for the base) and Gold Adhesive-Backed Glimmer Paper (for the decorative overlay, in a checked pattern to tie in with the background on my card).
Tiny baubles were die-cut from Cherry Cobbler Glimmer Paper, part of the new Festive Glimmer Paper pack. The ribbon at the top of the tag is the new Cherry Cobbler & Gold Satin Ribbon. After adhering the tag to the card using Liquid Glue, I popped a Glue Dot under the knot of the ribbon, to keep it in place.
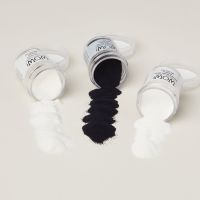
The card base is Cherry Cobbler, so I added a Very Vanilla panel inside, on which to write a message. Using Versamark ink, I stamped a sentiment from Peaceful Season onto the Very Vanilla piece. After sprinkling gold embossing powder over the inked portion, I melted it with my heat tool.
Next up on tonight's blog hop is Amie McIlroy:
If the link doesn't work, or if you would like to see a comprehensive list of participants in this week's blog hop, head over to Catherine Proctor's blog. Cathy does a fantastic job of co-ordinating our Colour Creations shares every week.
Listed below are the current products I used to make my cards. The new products will all be in my online store on 4th September, so if you love them, make sure you add them to your wish list! In the meantime, Stampin' Up! has a sale on some of the Designer Series Papers in the Annual Catalogue. You can check those out by clicking on the graphic below:
Product List