Showing posts with label Wedding cards. Show all posts

Wednesday, September 25, 2024

STAMPIN' UP! SKETCHED BUTTERFLIES WEDDING CARD FEATURING DAFFODIL DELIGHT


In this week's Colour Creations blog hop, our feature colour is Daffodil Delight.  Yellow is not a colour I gravitate towards in my crafting, so it has been a bit of a challenge for me to have Crushed Curry and Daffodil Delight to work with these past couple of weeks!

I have created a wedding card in white, with touches of Daffodil Delight and gold.  I have used Thick Basic White card for all my white layers.  I like to use it when I'm colouring with Stampin' Blends Markers, and when using a 3D embossing folder (and intricate dies).


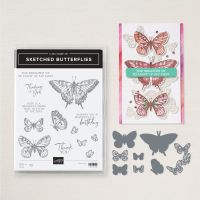
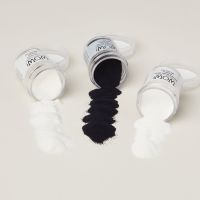
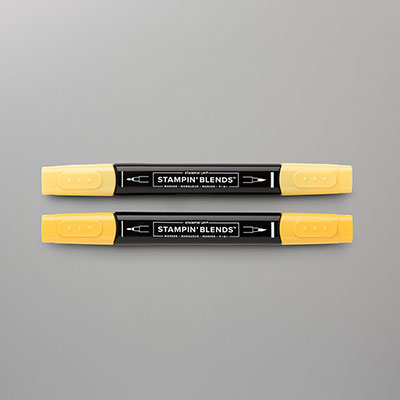
I stamped the large butterfly, and two smaller ones, on Thick Basic White card using Versamark ink.  After sprinkling white embossing powder over the stamped images, I melted the powder with my heat tool.  I used Daffodil Delight Stampin' Blends Markers to colour the butterflies, then cut them out with co-ordinating dies.

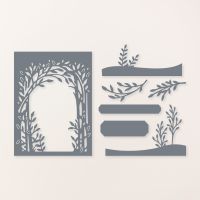
In my close-up photos, you can see some of the detail in the two Thick Basic White layers that are matted on Gold Foil.  The top layer was die-cut using a Delicate Forest Die, that creates a leafy arched aperture.  On the next Thick Basic White layer, you can see some of the Distressed Tile embossing.


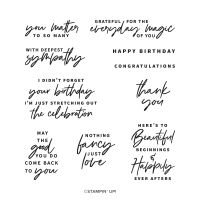
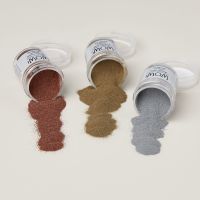
On the bottom of the two layers, I gold heat-embossed the sentiment, from Something Fancy.  I then partially embossed this panel, using the Distressed Tile 3D embossing folder.  

Daffodil Delight Glossy Dots were added to REALLY bring out the yellow on my card!


I added some white baker's twine to the bottom of my card front, wrapping two lengths around the layers before adhering them to the Thick Basic White card base.  With another two lengths of twine, I made a bow, and added it with Mini Glue Dots.


Inside the card, I added a white-embossed sentiment on Daffodil Delight card.  I cropped the sentiment with the long label from the Delicate Forest Dies, running it through my Stampin' Cut & Emboss Machine twice, to cut it down to the size I needed.


Next up on tonight's blog hop is Diane Furniss:


If the link doesn't work, or if you'd like to see a full list of participants in this week's blog hop, head over to Catherine Proctor's blog.  Cathy does a fantastic job of co-ordinating our Colour Creations shares, all year round.

Listed below are all the products I used to make my card.  If you live in Australia, and would like to shop with me for your Stampin' Up! supplies, you can get to my online store by clicking on any of the thumbnail images below.

I love taking part in the weekly Colour Creations blog hops, and am sad to say I'll be missing the next two or three.  Happily, though, I am going travelling.  Yay for new adventures!  I look forward to re-joining the blog hops when I'm back in a few weeks.


Product List
Heat Tool
[129056]
$56.00

Wednesday, April 3, 2024

STAMPIN' UP! WEDDING CARD FEATURING SOFT SEA FOAM


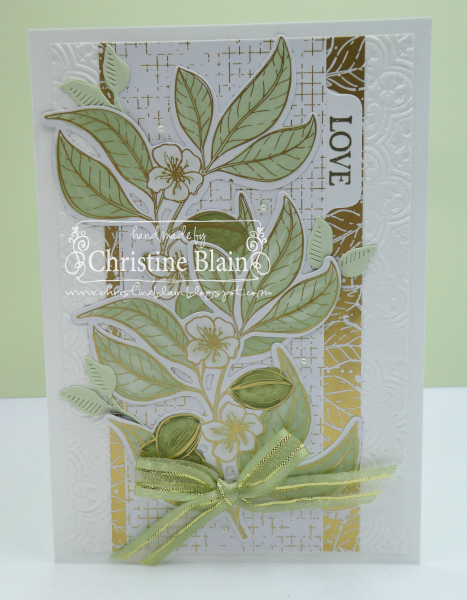
This week's Colour Creations blog hop is focussing on Soft Sea Foam.  It's a lovely pale green, that I found a little tricky to showcase without looking insipid.  I've chosen to team it with lots of white, and some gold.

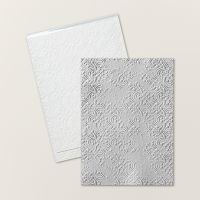
To a Thick Basic White card base, I added a Thick Basic White card layer embossed with the Distressed Tile 3D embossing folder (debossed side up).  In between the layers of gold leafy paper and gold and white grid-patterned paper, I added a die-cut Basic White tab on which I had stamped and gold-embossed the word "Love".  Both of these patterned papers are from the Nature's Sweetness DSP pack.


From another sheet of beautiful Nature's Sweetness Designer Series Paper, I die-cut two gold-foiled floral and leafy pieces.  I coloured the leaves with Light and Dark Soft Sea Foam Stampin' Blends markers, and the seed pods (cocoa beans?) with Mossy Meadow Stampin' Blends.  To the flower centres, I added a little colour with the Light Soft Sea Foam Stampin' Blends marker, then used the Color Lifter to lighten it even more.  I trimmed down one of the floral sprays, to sit it behind the other on my card front.

From Soft Sea Foam card, I die-cut some small leaves, also using the Lovely & Sweet Dies that were used for the larger pieces.

I used the Dark Soft Sea Foam Stampin' Blends marker to colour some Basic Pearls - although the result is very subtle!


The Dark Soft Sea Foam Stampin' Blends marker was also used to colour some Vanilla Gold Satin-Edged Ribbon.  After tying it in a bow, I adhered it to my card using Glue Dots.


Here's a look at the inside of the card.  I stamped the sentiment (from Lifetime of Love) in Soft Sea Foam ink, on Soft Sea Foam card, then cut it out using a Thoughtful Expressions Die.  Underneath the sentiment label, I tucked a leaf I'd die-cut from Nature's Sweetness DSP, using a Notes of Nature Die.  The added flower was fussy-cut from the same piece of paper, and I used Soft Sea Foam Stampin' Blends to add colour to the leaves and flower.


Next up on tonight's blog hop is Tina Gillespie:


If you come across any broken links, or would like to see a full list of participants in this week's blog hop, head over to Catherine Proctor's blog.  Cathy does a fantastic job of co-ordinating our Colour Creations shares every week.

Listed below are all the products I used to make my card.  If you live in Australia, and would like to shop with me for your Stampin' Up! supplies, you can get to my online store by clicking on any of the thumbnail images below.


Product List
Heat Tool
[129056]
$54.00