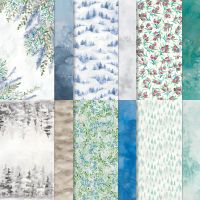
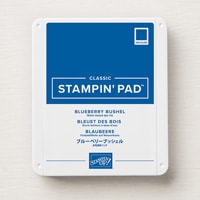
This week's Colour Creations blog hop is all about Blueberry Bushel, a bright royal blue that doesn't see much action on my creations! As it is one of the colours in the beautiful Winter Meadow Designer Series Papers, I was inspired to make a couple of Christmas cards.
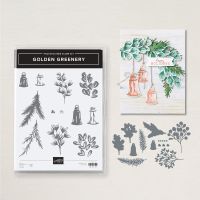
For both cards, I have used the new Golden Greenery bundle, of stamps and dies that are Online Exclusive products. The sentiments are courtesy of the More Wishes stamp set.
CARD #1:
Here's a closer look at the beautiful background paper, and the glimmer of the silver die-cut foliage and rhinestones:
The sentiment was stamped in Versamark ink on a piece of Blueberry Bushel paper, from the Winter Meadow DSP pack. I heat-embossed it in white. Please overlook all the stray specks of white embossing powder - I didn't do too good a job of this embossing! I sponged Blueberry Bushel ink around the edges of this paper panel.
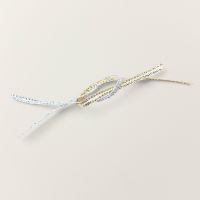
I stamped the two larger bells on a piece of very subtle patterned Smoky Slate paper, first using Smoky Slate ink, then adding detail with Versamark ink and silver embossing powder (melted with a heat gun). Some berries were stamped in Blueberry Bushel ink (creative licence, to tie in with the paper!) on Basic White card, and die-cut. Using glue dots, I added a bow made from Silver 1/8" Trim.
CARD #2:
Again, I stamped the bells on a piece of paper (from the Winter Meadow DSP pack) that has a very subtle Smoky Slate and white pattern. For this card, I used the smaller of the two bell stamps and dies. I stamped the bells in Smoky Slate ink, and silver-embossed the detail that was stamped in Versamark ink.
A few clusters of berries, stamped in Blueberry Bushel ink on Basic White card, were added to the background paper.
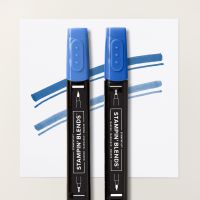
The bow was created from Silver 1/8" Trim, that I had coloured with the Dark Blueberry Bushel Stampin' Blends marker.
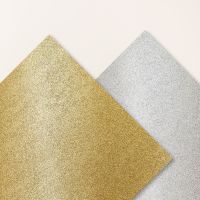
The sentiment was stamped in Versamark ink, and heat-embossed in white, on the Blueberry Bushel paper from the Winter Meadow DSP pack. I sponged around the edges of both Designer Series Paper pieces, with Blueberry Bushel ink. A thin strip of Silver Adhesive-Backed Glimmer Paper divides the two papers.
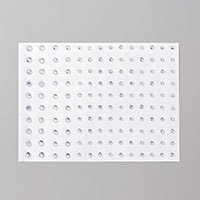
The embellishments added to this card are from the new Pecan Pie & Clear Ribboned Adhesive-Backed Dts pack. I love the silver detail in them.
Next up on tonight's blog hop is Tina Gillespie:
If you come across any broken links, or would like to see a comprehensive list of participants in this week's blog hop, head over to Catherine Proctor's blog. Cathy does a fantastic job of co-ordinating our Colour Creations shares every week.
Listed below are all the products I used to make these cards. If you live in Australia, and would like to shop with me for your Stampin' Up! supplies, you can get to my online store by clicking on any of the thumbnail images below.
Product List


